

A kitchen exhaust hood is an essential appliance that captures smoke, steam, and airborne grease, improving air quality and reducing fire risk. However, over time, this very function leads to a significant accumulation of sticky, flammable grease on its filters, interior, and exterior surfaces. Neglecting this buildup is a major fire hazard and can impair the hood’s efficiency. Proper cleaning is not just a matter of aesthetics; it's a critical maintenance task for kitchen safety. This guide outlines a professional, step-by-step approach using the right kitchen cleaner and techniques to restore your exhaust hood to safe, optimal working condition.
Phase 1: Preparation and Safety First
Before tackling the grease, safety is paramount. Start by turning off the power to the range hood at the circuit breaker to prevent any accidental activation. Assemble your supplies: heavy-duty kitchen degreaser (preferably a commercial-grade, non-caustic, and non-flammable formula), a degreasing kitchen cleaner spray, protective gear (nitrile gloves, safety goggles), a putty knife, scrubbing pads (steel wool for metal, non-scratch pads for painted surfaces), a bucket of hot water, dish soap, and several microfiber cloths. Lay down drop cloths or newspaper to protect your stovetop and countertops. For the surrounding area, a gentle degreaser for cabinets can be used afterward to clean any splatter.
Phase 2: Removing and Soaking the Grease Filters
Most range hoods have removable metal baffle or mesh filters. Carefully take them down according to the manufacturer’s instructions. These are the primary grease traps and will be the dirtiest components. To create a powerful soaking solution, fill your sink or a large basin with very hot water. Add a generous amount of a concentrated kitchen grease cleaner or degreasing dish soap. For stubborn grime, a half-cup of baking soda can boost the cleaning power. Submerge the filters and let them soak for a minimum of 20-30 minutes, or even overnight for heavy buildup. The hot, soapy solution will start to dissolve and loosen the solidified grease.
Phase 3: Degreasing the Hood Interior and Exterior
While the filters soak, apply a heavy-duty kitchen grease remover spray or gel directly onto the interior surfaces of the hood, including the fan blades (if accessible), the grease cup or tray, and all interior walls. It is crucial to use a product designed for this specific task, as a general-purpose kitchen cleaner may not be strong enough. Allow the degreaser to dwell for 10-15 minutes as per the product instructions; this dwell time is critical for breaking down the polymerized grease. Do not let the product dry. For the exterior, use the same kitchen degreaser on stainless steel, or a milder formula suitable for painted finishes. Use the putty knife to gently scrape off large, dripping grease deposits into a disposable container before they fall.

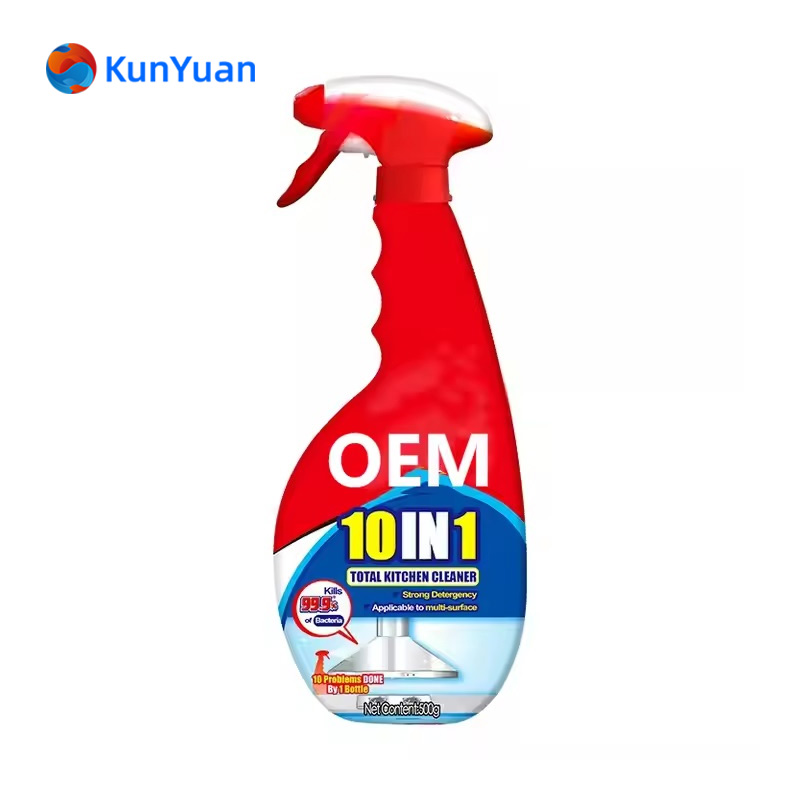
kitchen cleaner
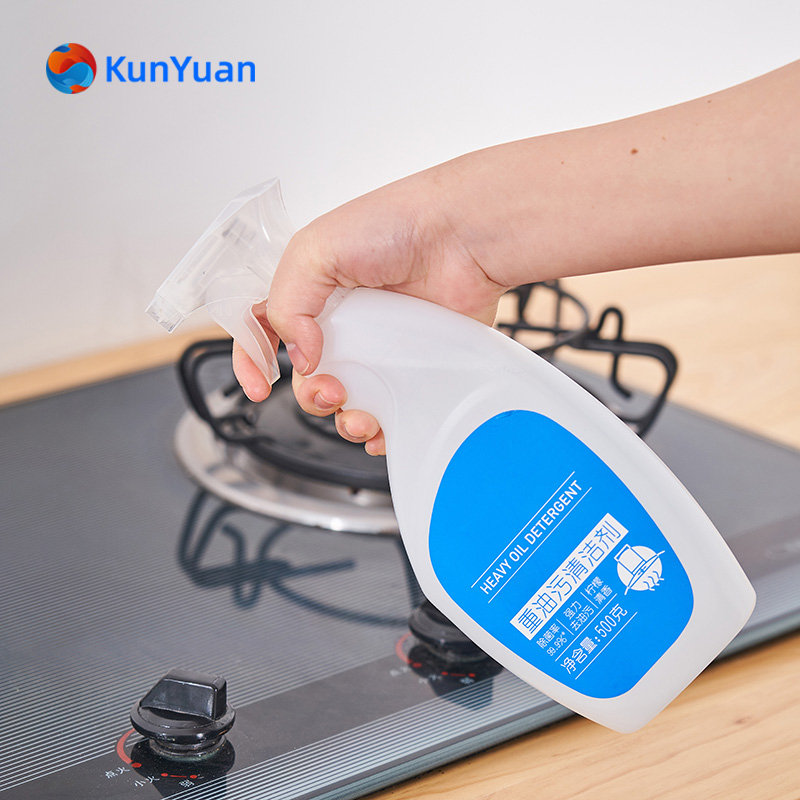
kitchen degreaser
degreaser for cabinets
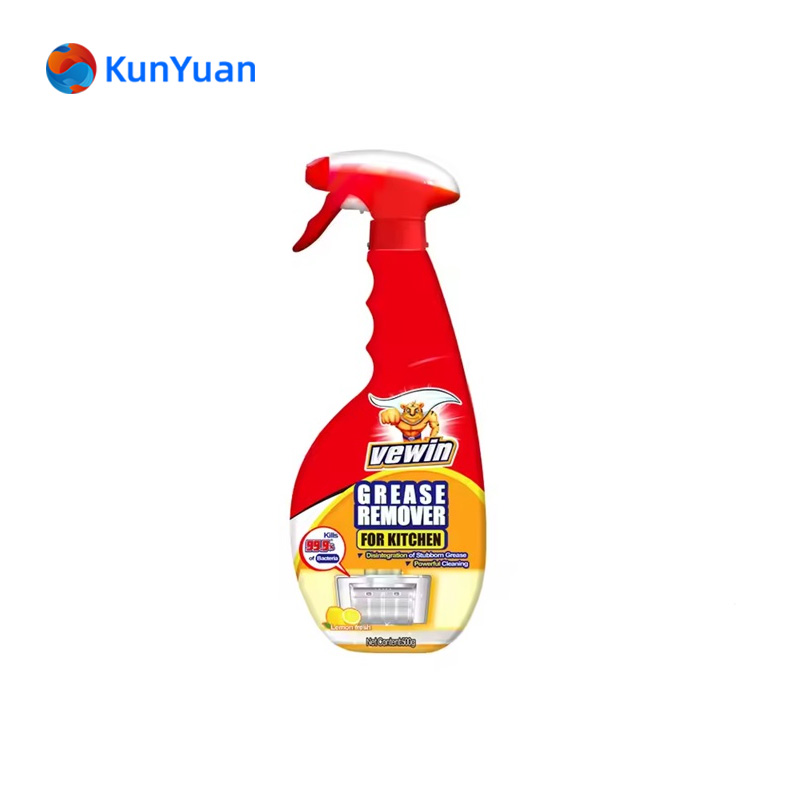
kitchen grease cleaner
Phase 4: Scrubbing, Rinsing, and Drying
After the dwell time, begin scrubbing. For the hood interior and the soaked filters, use a scrubbing pad to remove all grease residue. A nylon brush can be useful for fan blades and crevices. The goal is to restore the bare metal surface. Once scrubbed, thoroughly rinse every component with clean, hot water. Any leftover kitchen degreaser residue can be sticky and attract dirt. Wipe down all surfaces with microfiber cloths. It is vital to ensure the filters are completely dry before reinstallation to prevent mold. Let them air-dry fully or pat them dry meticulously.
Phase 5: Reassembly and Final Touches
Once everything is clean and bone-dry, reinstall the filters in their correct orientation. Restore power at the circuit breaker. Finally, use a gentle degreaser for cabinets and a clean cloth to wipe down the exterior of the hood and any surrounding cabinetry or walls to remove any cleaning splatter or lingering film, leaving your entire cooking area spotless.
Establishing a Maintenance Routine
A thorough deep clean of your kitchen exhaust hood should be performed every 3 to 6 months, depending on your cooking frequency. For daily maintenance, wiping the exterior with a multi-surface kitchen cleaner can help. Using the right kitchen grease remover for the task and following a meticulous process of application, dwell time, and rinsing is the key to effectively removing hazardous grease buildup. This routine not only ensures a cleaner kitchen but, more importantly, significantly reduces the risk of a dangerous kitchen fire, protects your investment in appliances, and maintains good indoor air quality. Remember, when it comes to exhaust hood grease, consistent and proper cleaning is an indispensable aspect of responsible home and kitchen management.